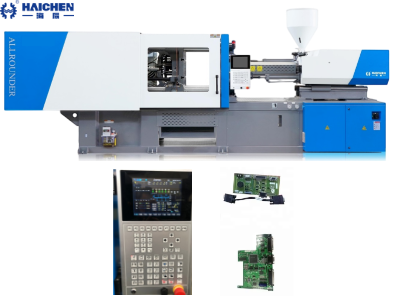
Install Plastic Injection Mould on Injection Molding Machine is the first step to being injection manufacture.
Installing plastic injection molds to injection molding machines is a process that requires precision operation and strict control. We operate through reasonable preparation, correct installation steps and meticulous debugging.
Haichen has experienced many years of actual production experience and provides you with detailed tips for installing injection molds.
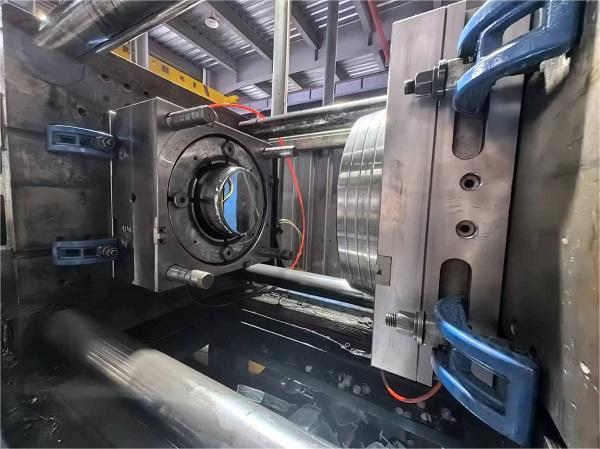
The following are the detailed steps and precautions for installing plastic injection molds on the machine:
Preparation before installation
- Verification of mold and machine compatibility
- Parting lock installation specifications
Verification of mold and machine compatibility
Check whether the bolt spacing, maximum mold opening distance and other parameters of the injection molding machine are compatible with the mold size to ensure that the mold can be completely closed and does not affect the ejection action.
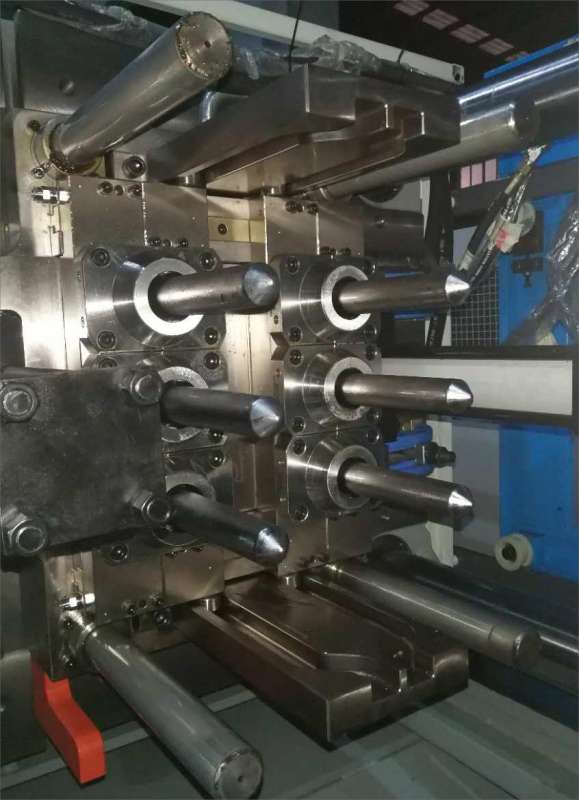
Select the fixing bolt specifications according to the mold weight (need to match the template threaded hole):
<100kg: 4 bolts with a diameter of 12mm
<500kg: 4 bolts with a diameter of 16mm
<1000kg: 4 bolts with a diameter of 20mm
1000kg: at least 6 bolts.
Parting lock installation specifications
Insert the parting lock into the mold to a depth of about 3cm, and use the H7 channel knife to process the mold hole to ensure that the tolerance is within the range of +0.1mm to improve the positioning accuracy.
It is forbidden to add lubricating oil, otherwise it will reduce the hardness between the parting lock and the mold and affect the stability of the mold.
Mold installation process
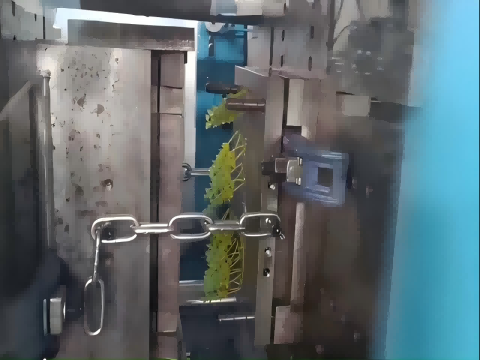
- Mold positioning and fixing
- Utility connection
Mold positioning and fixing
Use the oblique screw (sloping screw) to preliminarily adjust the position of the mold plate, rotate 90 degrees to lock the split lock, and ensure that the mold and the injection molding machine template are completely fitted.
Slowly close the mold through the hydraulic system or manually, check the centering of the ejector plate and the machine ejector rod to avoid loss caused by partial load.
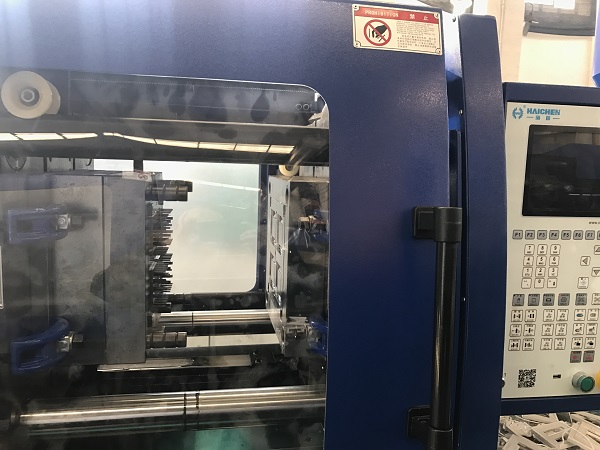
Utility connection
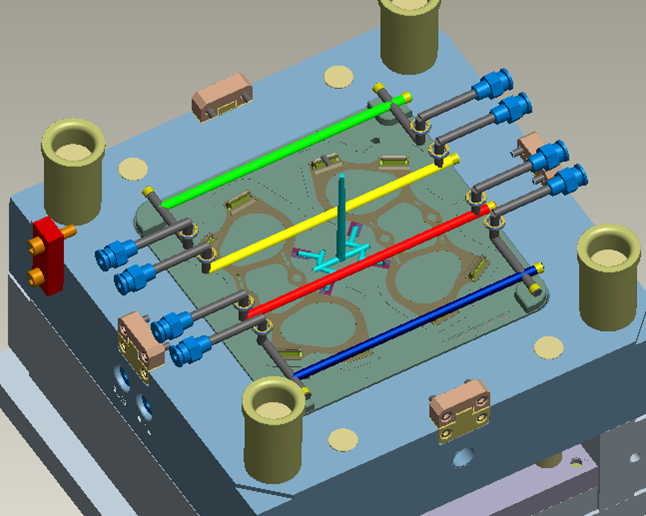
Connect the mold cooling water circuit to ensure no leakage flow and avoid local overheating and deformation (especially critical for precision parts).
When installing the hot runner system, we adjust the temperature controller, and the temperature deviation should be within ±3℃ to prevent material degradation.
Machine parameter setting
- Process parameter adjustment
Process parameter adjustment
Temperature: The barrel temperature is set according to the material transistor index, and the mold temperature is controlled by the mold temperature controller (for example, ABS recommends a mold temperature of 50-80℃).
Pressure and speed: Set the injection speed (such as 60-80MPa in the filling section and 30-50MPa in the pressure holding section) and screw advancement in sections to avoid spray marks or under-injection.
Cooling time: calculated according to the thickest wall area (usually 8-15 seconds per millimeter of wall thickness).
Which can be optimized through mold flow analysis software.
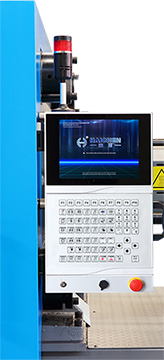
Testing and optimization
- Mold trial process
- Common problem adjustment
Mold trial process
Dry run 3-5 times to observe the stability of mold clamping action and detect whether the high-pressure clamping force is uniform (pressure sensing paper can be used for verification).
Inspection after the first piece is producing:
Dimensional accuracy (key parts tolerance within ±0.05mm)
No defects such as weld lines and shrinkage marks on the surface
No deformation or strain during ejection.
Common problem adjustment
Flash: increase clamping force or reduce injection pressure.
Short shot: increase melt temperature or extend holding time.
Ejection deformation: optimize ejector structure or reduce ejection speed.
Safety and maintenance
- Operation specifications
- Mold maintenance
Operation specifications
High-temperature resistant gloves and goggles must be worn, especially when handling hot runners or cleaning nozzles.
Regularly check the cleanliness of hydraulic oil (particle contamination NAS level 8 or below) and electrical grounding.
Mold maintenance
We suggeht to clean mold surface with compressed air every day and sprayed with rust inhibitor (transparent silicone component) every week.
Check the lubrication status of the guide pin every 5,000 molds and use high-temperature grease (such as eliminating dimolybdenum).
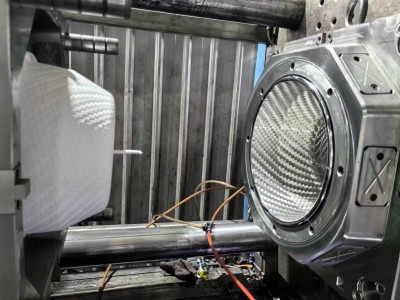
Through the above steps, complete mold installation and debugging systematically.
And adjust the parameters can efficiently and finely in combination with the characteristics of the equipment and materials to ensure stable production.
In actual operation, it is necessary to strictly follow the technical manual provided by the equipment manufacturer (such as the step-by-step guide in), and dynamically optimize the process in combination with real-time monitoring data.

Welcome to leave a message for more details on the Install Plastic Injection Mould injection molding process, we are always waiting.