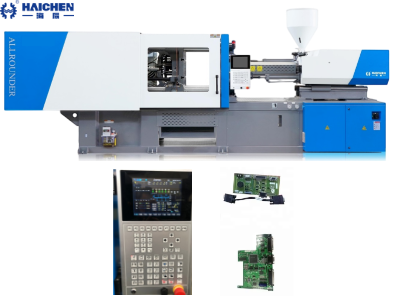
Replacing the tie bar involves the process of disconnecting the die, removing the old tie bars, installing the new tie bars, and test them.

To assist in keeping the we an get rotary machine, the tie bars have been strategically placed. The tie bars also function as the primary support for the parts of medical machinery that require injections. So having quality substitutes is essential when conducting maintenance. It is recommended to use quality substitutes for parts undergoing routine or preventative maintenance. In order to avoid quality degradation of the end product.
Finally, any tool that results in an effective implementation of the replacement as outlined would be ideal. The optimal scenario would be one where such systems would not compromise industry standards and maintain deviation to a minimum.
Knowing Tie Bars in Injection Molding Machines
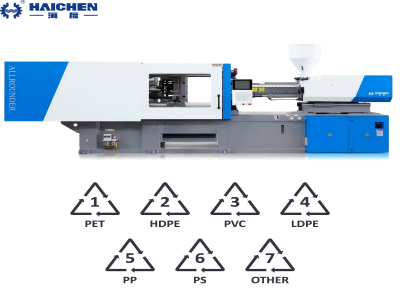
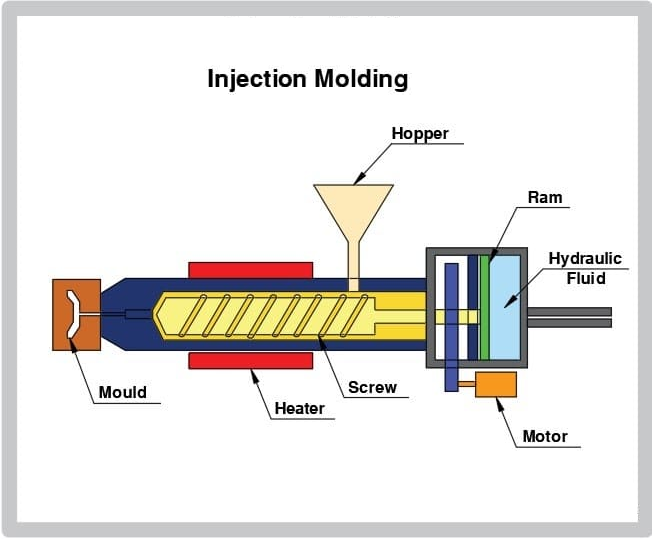
Tie bars are metal rods used to hold the two sections of the mold. And ensure they are aligned properly in an injection molding machine. Not only do these bars ensure that the mold remains closed before the injection, but also that sufficient clamping force is applied during the injection and cooling phase.
Due to repetitive molding processes, tie bars undergo stress which makes them susceptible to damage without optimal maintenance. Therefore, in order to make certain that machine performance is not undermined. Failures make it necessary to implement routine replacement cycles.
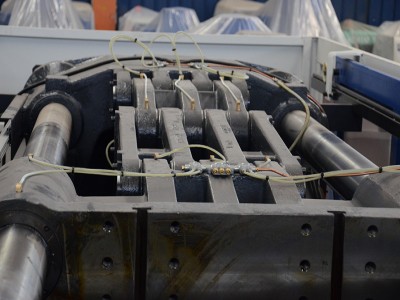
Replacing the tie bar – Preparation
- Gather Tools and Materials: Set of wrenches, torque wrench, pry bar, and replacement tie bars are needed. Verify that the tie bars are appropriate for your machine model. HAICHEN has a vast inventory of high-quality replacement parts, so you can be sure of compatibility and performance.
- Consult the Manual: Check the user’s manual for instructions and specific torque settings relevant to the machine. Every machine has its peculiarities, so it is always best to use the recommended procedures from the manual.
- Mark the Old Tie Bars: Prior to the removal of the old tie bars, make sure to mark the position of the old ones so that you can reference them when installing the new ones.

Replacing the Tie Bar – Removal of Old Tie Bars
- Loosen the Tie Bar Nuts: With the help of a wrench, gently unscrew the nuts on the ends of the tie bars. At this stage, avoid completely unscrewing the nuts.
- Relieve Pressure: Carefully open the mold to release pressure slowly. Sudden movements at this stage may cause injury or damage to the machine.
- Remove the Nuts and Washers: After the release of pressure, the nuts and washers can be fully unscrewed from the tie bars and will come off easily.
- Extract the Tie Bars: Carefully use a pry bar to gently lift the tie bars out of their sockets. Be cautious not to damage the surrounding components.
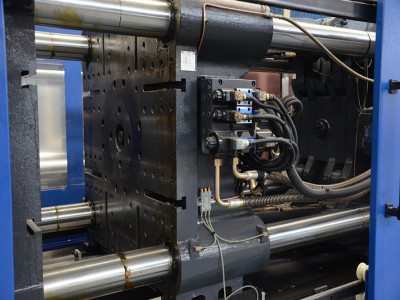
Set Up New Tie Bars
- Clean Up: Before fitting the new tie bars, clean the sockets properly so there are no leftover parts of debris.
- Install the Required Tie Bars: While following the instructions and ensure the marks you made on the tie bars are adhered to, carefully place the new tie bars.
- Add Nuts and Washers: Put the nuts and washers on the new tie bars, hand tightening them later to make sure everything is sitting properly.
- Nuts Placement: With a torque wrench, make sure to fasten the nuts to the specific noted torque value in the machines manual. A note of caution, this step is critical for confirming that the tie bars are properly in position. And safely securing them to avoid shifting.
Adjustments and Experimentation
- Check if there is alignment deviation: Verify if the newly placed tie bars aren’t misaligned towards any direction and if the rest of the collated parts are fastened.
- Run the device: Switch the machine on, and try running a test cycle to check if the entire system is working as it is meant to. Keep your attention on the device in the course of the cycle for any unwarranted noises or movement.
- Update the logbook: Update your maintenance log with the details from the replacement including the tie bar model and your observations during the replacement process.
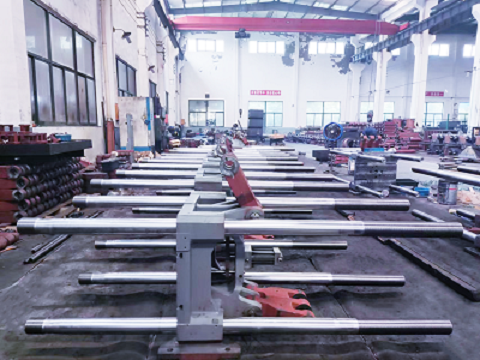
Preventive Maintenance & Troubleshooting
Routine Checks:
- Lubricate tie bar threads every 2,000 cycles .
- Inspect for micro-cracks via magnetic particle testing quarterly.
Common Failures:
- Thread seizure: Caused by inadequate lubrication – resolve with ultrasonic cleaning .
- Fatigue fracture: Overload or material defects – replace with H13 steel bars .
- Life Extension: Apply WC-Co coatings to high-stress tie bar segments .
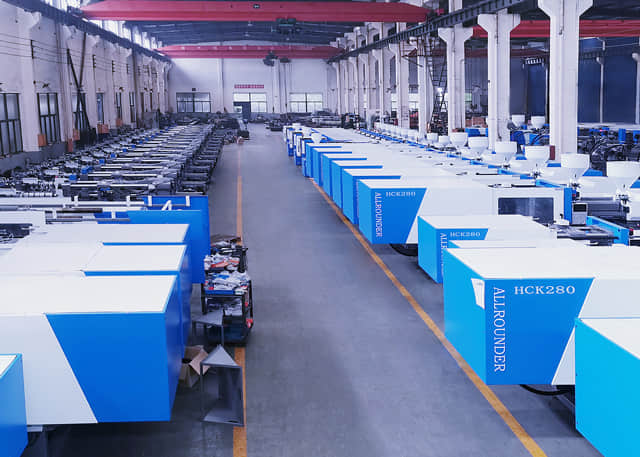
Like any piece of heavy equipment, the injection molding machine requires regular attention. Not only does it necessitate routine servicing, but also requires the preventative maintenance of replacing tie bars as needed. Routine and preventative maintenance of such nature is key in achieving sustained operation with maximum uptime efficiency.
If any unforeseen issues arise, the manufacturer is always the best place to turn to for professional advice. You can always reach out to HAICHEN directly for expert guidance.