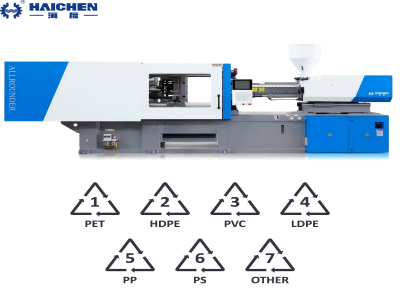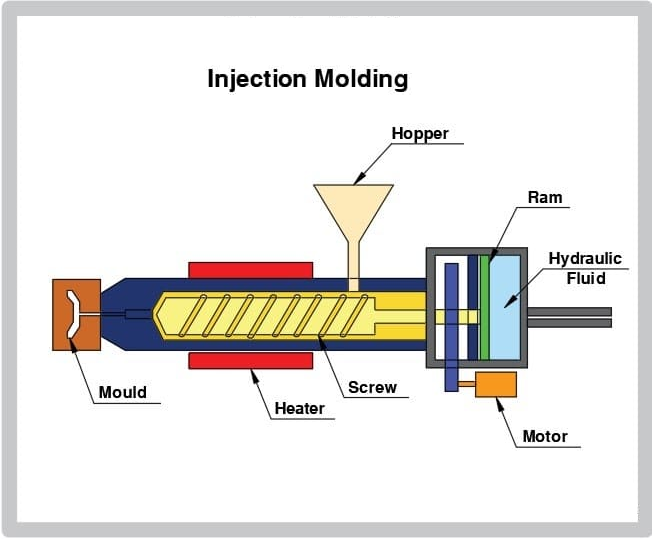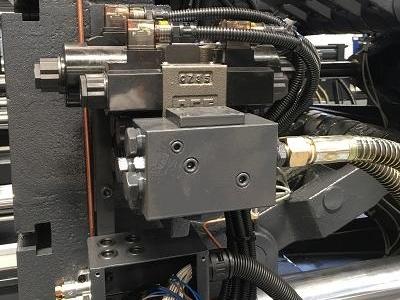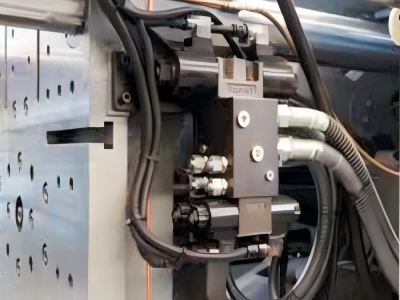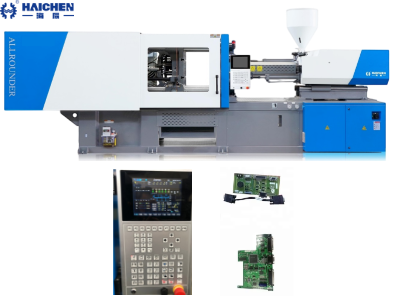
Injection molding mould installation steps include mold inspection and preparation, lifting and adjusting the mold, fixing and adjusting the mold, etc.
An injection mold is a tool made of metal (usually steel or aluminum) used to inject molten plastic material into the mold during the injection molding process, allowing it to cool and solidify into its final shape. The design and manufacture of the mold requires a high degree of precision and complexity to ensure the quality and consistency of the final product. The mold usually consists of two main parts: the mold body (A Plate) and the ejector mold (B Plate), which together constitute the structure of the mold.
The installation step of the injection molding mold is a complex and precise process involving multiple key links. The installation steps of injection molds usually include the following key steps:
- Mold inspection and preparation
- Lifting and placement of molds
- Fixing and adjusting the mold
- Installation of cooling water circuit and hot runner system
- Safety inspection and mold trial
Injection molding mould installation steps: Mold inspection and preparation
Before installing the mold, the mold needs to be inspected to ensure that it meets the machine specifications and design requirements. For example, check whether the mold size is suitable for the injection molding machine, confirm whether the mold’s positioning flange meets the requirements of the fixed template, and whether the ejector pin fits the mold well. In addition, the mold surface needs to be cleaned to ensure that there is no foreign matter or contamination.
Drawing verification
Perform a comprehensive inspection of the mold according to the design drawings to confirm that the size and structure meet the requirements, and pay special attention to whether the positioning marks are clear (such as the position of the guide pin and guide sleeve).
Damage detection
Check whether there are cracks, scratches or wear on the mold surface, and focus on key parts such as the parting surface and cavity to avoid affecting the quality of the finished product.
Moving parts inspection: Ensure that the moving parts such as sliders and ejectors are clean and free of residues, and the movement is smooth and without jamming.
Standard compliance
Verify whether the mold meets industry standards (such as material hardness, cooling water channel design, etc.)
Mold cleaning and corrosion protection
- Thorough cleaning: Use special tools to remove oil, residual plastic or dust inside and outside the mold to prevent contamination of new products.
- Rust prevention: Apply light anti-rust oil to the mold surface after cleaning to avoid rust during storage or installation.
- Accessory inspection: Confirm that the insulation board is flat and has no deformation (to prevent flash during injection molding), and the cavity layout is symmetrical to balance the clamping force.
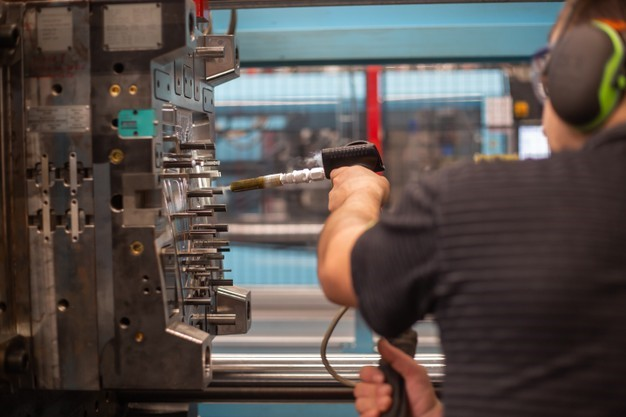
Pre-installation preparation
Equipment debugging: Clean the injection molding machine template, check whether the positioning holes are intact, and adjust the parallelism of the template (calibrate with a level).
Lifting safety
- Use a bridge crane to lift the mold, ensure that the mold is suspended vertically to avoid tilting
- During operation, it is strictly forbidden for personnel to be below the lifting path, and 2-3 people are required to work together
Positioning calibration
- Align the mold positioning ring (Centering Carrier) with the positioning hole of the injection molding machine template for preliminary positioning
- When installing a mold with a side slider, keep the slider horizontal.
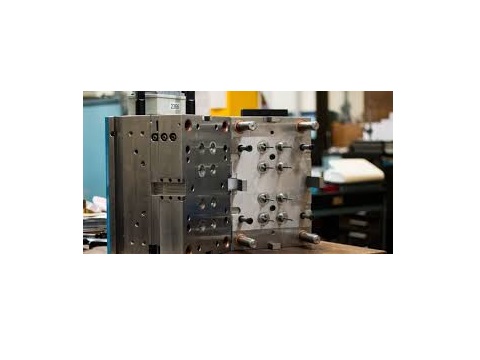
Injection molding mould installation steps: Lifting and placement of molds
Use an overhead crane or forklift to lift the mold from the storage area and slowly move it between the two base plates of the injection molding machine. When placing the mold, pay attention to the direction markings of the mold to avoid errors when closing the mold.
Lifting operation
- Use of lifting equipment:
Use a crane or reliable lifting equipment to lift the mold to the template position. - Center of gravity: The mold must be hung vertically on the crane to avoid eccentricity or tilt.
- If the center of gravity is offset, use an appropriate intermediate connector to adjust
Placement requirements
- Place the mold gently on the template, ensure that the locating ring is accurately embedded in the mounting hole of the fixed template, and make the mold surface fit tightly with the template.
- The lower mold of the mold needs to be pre-centered, and the gap with the center hole of the turntable should be controlled within 0.5-1mm.
Safety precautions
- Anti-collision: Prevent the mold from hitting the tie rod, nozzle and other parts during hoisting
- Staffing: Some scenarios require two operators (mold technicians and assistants) to work together, but delays may be caused by other equipment failures
- Operation mode: Use manual or mold adjustment mode throughout the process
- Turn off the oil pump and main power before installation
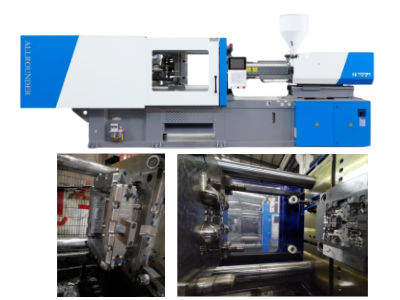
Fixing and adjusting the mold
Fix the mold on the fixed platen and movable platen of the injection molding machine. Specific operations include:
Align the positioning boss of the mold
Align the positioning boss of the mold with the positioning hole of the injection molding machine to ensure that the center line of the mold coincides with the center line of the injection molding machine.
Use bolts to fix the mold
Use bolts to fix the mold on the fixed platen or movable platen to ensure that it firmly fixes.
Adjust the height and position of the mold
Adjust the height and position of the mold so that the upper and lower parts of the mold can be aligned, and fix it with a pre-tightening device (such as a spring or nut).
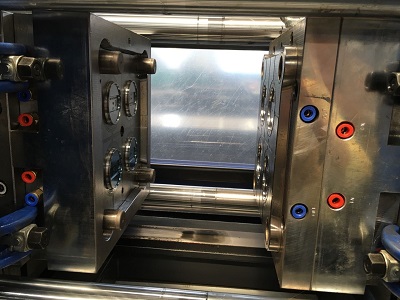
Installation of cooling water circuit and hot runner system
If the mold design includes cooling water circuit or hot runner system, relevant components must install according to the drawing requirements. For example:
- Install the cooling water pipe and ensure that it firmly connectes
- Install the hot runner plate and verify whether its position is correct
Safety inspection and mold trial
After completing the above steps, a safety inspection is required, including confirming whether all bolts are tightened, whether the mold is completely fixed, whether the electrical system is normal, etc.
Then perform a mold trial operation to observe the movement of the mold and the molding quality of the product.
Thus, through the above steps, it can ensure the correct installation and debugging of the injection mold. Thereby we can improve production efficiency and product quality.